 Well, that title is a bit presumptuous, but studies have shown that using the words “How to…” in the headline causes the story to rate higher with search engines.
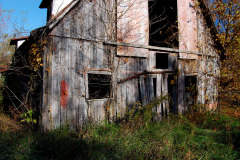
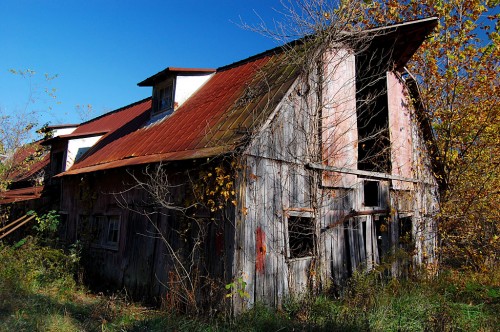
When Friend Shari and I were on our way back from shooting Tower Rock Quarry and taking the scenic route where I discovered High Hill Church, she said to keep my eye out for old barns; there was one in particular she’d like to shoot again. She recalled doing it years ago and wanted to have another crack at it.
STOP!!!
We were tooling along down 177 near Egypt Mills when she hollered, “STOP!” She was always good at that. I locked down thinking she saw an 18-wheeler getting ready to hit us head-on and heard everything loose in the car slide forward.
She had spotted her barn. I threw it in reverse and cut over on CR 634 (I think) and pulled off on the side of the road with the hazard flashers on.
What are you looking for?
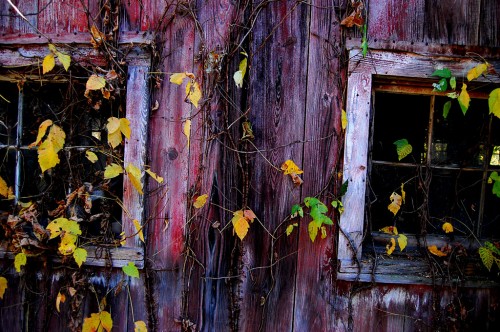 Being a former shrink, she’s always curious about the thought processes that go into making a photo. After dismissing her (and most other folks who ask that question), I’ve started to think about it. I told her that I would try to explain how I looked at the overall scene and then drilled into a detail here and there. As we walked around, I explained that sometimes everything would fall into place. Other times, I’d shoot a frame and decide that something didn’t work. Sometimes a slight change in angle would fix the problem; other times, there would be some extraneous object that would intrude that I couldn’t work around, and I’d move on.
I’m a sucker for contrast
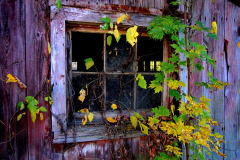
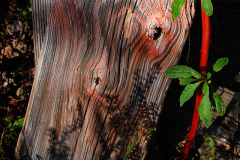
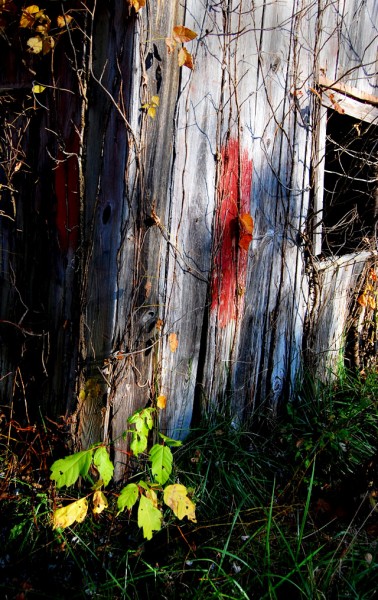 I love dark photos where the light hits something and causes it to pop out. Sometimes, like in this shot, the light is striking it directly. More often, I look for a strong back or sidelight to make it translucent.
Signs that it wasn’t a good shoot
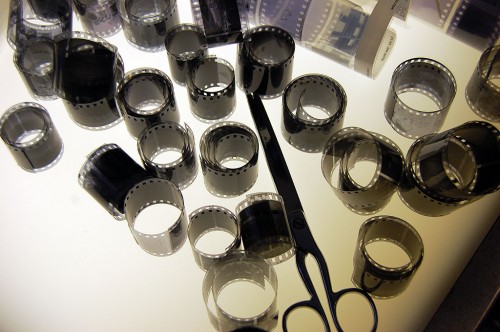
 Leica made some great photo enlargers. One of the neat things about them was that their negative carriers were cut just a little larger than a 35mm frame. That let pure white light project down on the photo paper if you printed full frame. It was a point of pride to have your print have that black border around it because it showed that you “cropped in the camera.” In other words, you visualized the final product when you pushed the button.
When I looked at these pictures, I found myself reaching for the Crop tool to hack out pieces that didn’t work for me. I might have thought the composition worked, but I hadn’t successfully ‘cropped in the camera.” When we did that in the real darkroom, we’d call it “pulling it out of our rear orifice (or something close to that).”
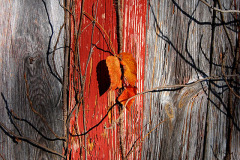
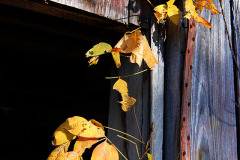
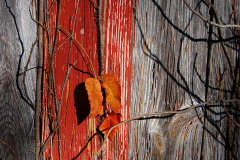
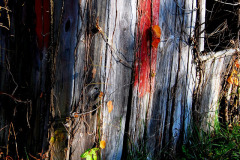
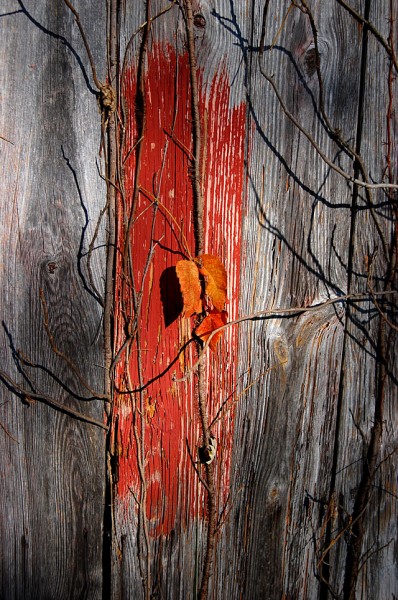
Here’s an example. This is the full frame photo of the splotch of red paint with an orange leaf in front of it and some tendrils of vine and their shadows on the gray, weathered wood.
I couldn’t find the center of interest. Is it the leaf? Is it the vines? Is my eye supposed to follow the vines up and down, left and right? What’s important?
Cropping helps, but it’s not the answer
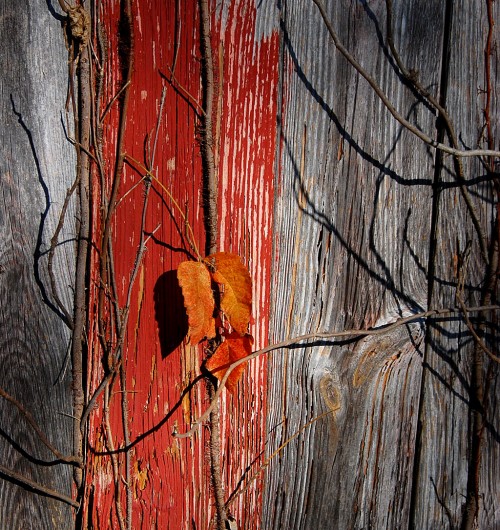 In this print, I’ve taken the same picture, but I’ve cropped up from the bottom and down from the top so you don’t see any of the gray wood there. Your eye tends to go toward the lighter area of a print, so this keeps you in the frame better. It also brings your eye to the leaf. I would have cropped a little more off the left, but I like the shadow of the vine over there. If you look closely, you can see the vine, then the shadow. The shadows of the vines on the right become more prominent and more interesting. Still, if the first photo was a D-, playing with it barely raised the grade to a C+.
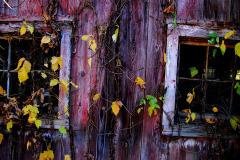
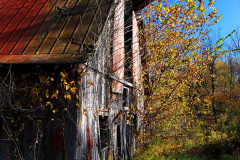
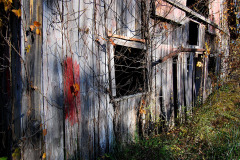
Photo gallery of barn pictures
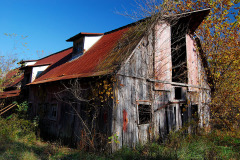
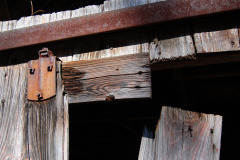
It’s not one of my best barn sessions. I shot this particular barn when I was riding my bike in this area about eight or nine years ago. I didn’t capture Essence de Barn then, and I’ve missed it this time, too. Maybe this barn and I just don’t click. Click on any photo to make it larger, then click on the left or right side to move through the gallery.
