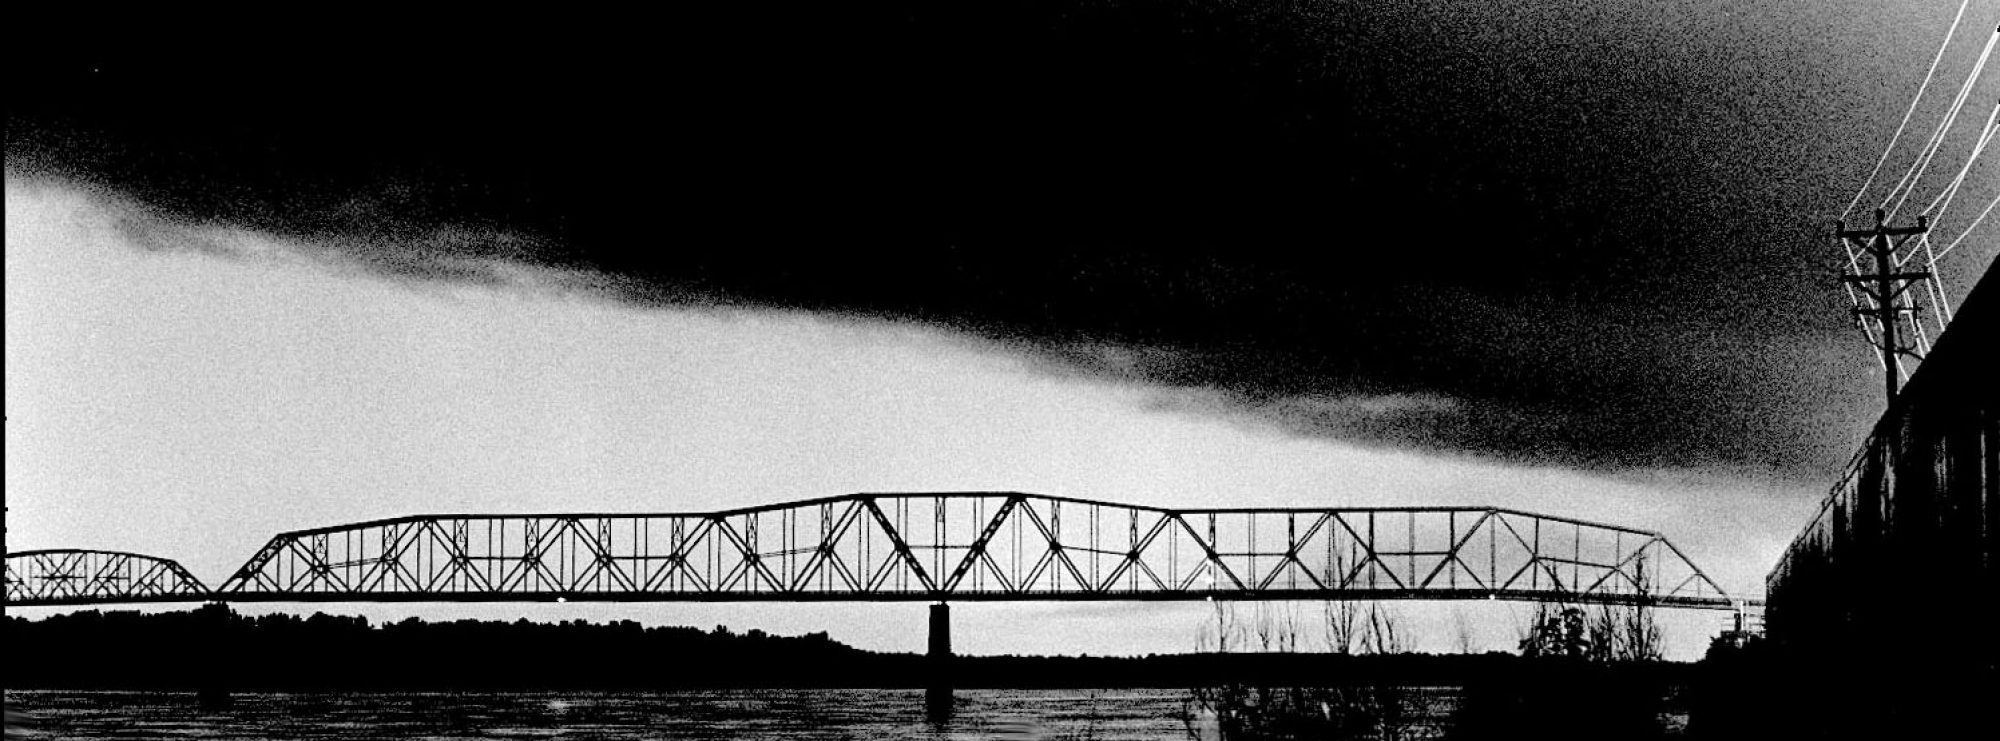
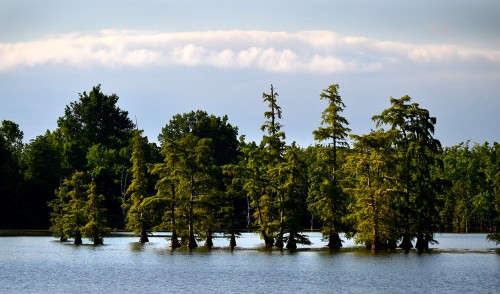
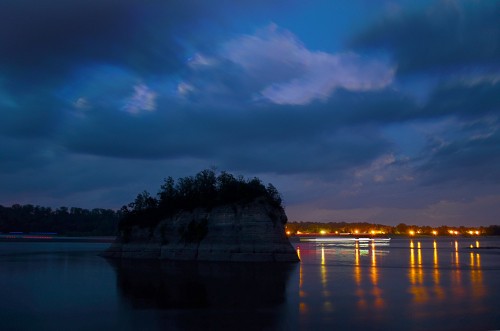
 Warning: photo geek stuff to follow. If you’d rather just look at pictures of Tower Rock and the Mississippi River under the full moon, click them to make them larger.
I grew up doing Plain Jane photography. All I had to think about was film type (color or black and white), film speed, shutter speed, aperture and focal length of the lens. Color / black and white was easy: until I got to The Palm Beach Post, all my work photography was black and white.
I almost always used Kodak Tri-X film for everything except available dark photography, where I experimented with all kinds of exotic film and developer combinations to be able to shoot where you could barely see.
Film speed and f/stops determined how much light hit the film. If you wanted to stop action, you’d use a fast shutter speed and a wide lens opening. If you wanted lots of stuff sharp, you’d stop down the lens and be forced to use a slower shutter. It’s all about math.
Lens choices were equally easy: want to get lots of stuff in, use a wide angle; want to shoot something a long way off, grab a telephoto.
Menus have menu menus
My new Nikon D7000 has more menus than a classy restaurant. The submenus have submenus, most of which I have never explored. The other night, though, I ventured into the unknown. If I have time, I usually bracket my exposures: in other words, I shoot one at what the camera or I think is right, then I go an interval above and below that exposure in case the camera or I have made a bad first choice. I print or publish the one with the best action, composition, sharpness and/or exposure.
The problem is that film, paper and sensors don’t have the range of the human eye. We can usually see detail in dark areas and bright areas at the same time. Cameras can’t – or couldn’t.
Enter HDR
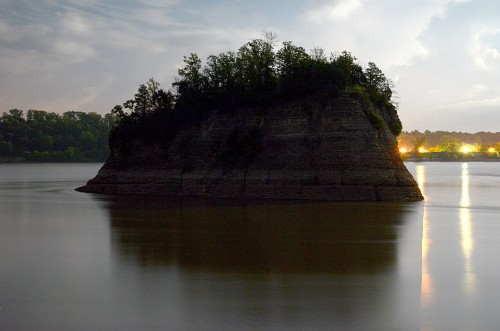 There’s magic in those menus. I opted to enter the land of High-Dynamic-Range imaging, better known as HDR. It shoots those same bracketed images, then allows them to be reassembled into one picture. To be honest, I’ve avoided fooling with it because too many people use it to create what we called in school “technically dominated art shots.” Pictures, in other words, where how you did it becomes more important than the content of the photo.
Just because it’s magic doesn’t mean that it’s always GOOD magic. The photo immediately above looks like it could have been shot during the day. It saved too much ambient light. It was taken at 9:40 p.m. when I had to boost the ISO from 200 to 1000. The three exposures for this shot were 13 seconds, 6 seconds and 25 seconds. All were at f/5. I told the camera to overexpose the image by about 4 times because the meter was sensing all the lights from the shore and the reflections of the water and stopping down.
The photo at the top of the page was taken at 9:04 p.m. when I had the ISO set to 200. The exposures were 13 seconds, six seconds and 25 seconds @ f/3.5. I told the camera to overexpose by a factor of 1.33. The colored blur is a barge making its way upstream.
Old ways sometimes better
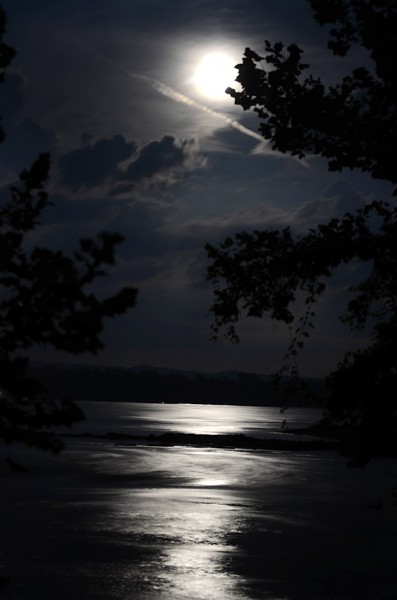 Because HDR merges photos taken slight intervals apart, sometimes you lose nice detail that is moving. This single frame shows the whirlpool south of Tower Rock starting to form. You can just barely make out the swirl. I zoomed to 55mm and set the ISO to 200. The exposure was 15 seconds @f/4. I overexposed by two stops.
Boat with HDR
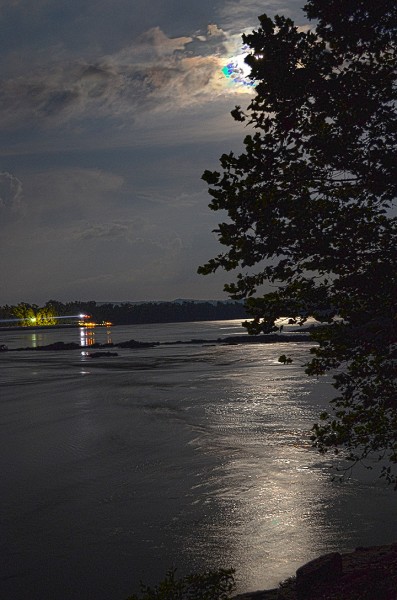 I’m not overly excited by this HDR shot of a towboat that conveniently paused across from us for some time.
Boat without HDR
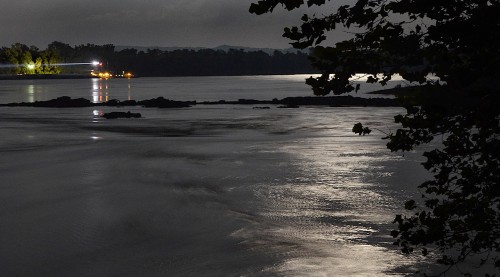 This is a single frame from the sequence that made up the vertical photo above. I cropped it tighter (just a little bit too tight at the top) and turned it into a horizontal. I find the moon less interesting than the idea of a pilot feeling his way up the Mississippi like pilots have been doing since the days when travelers were first devoured by the demons inhabiting Tower Rock.
Now that I’ve been exposed to HDR, I’ll use it like a torque wrench: something nice to have, but not a tool I grab every day.
